
macOS 11 Big Sur is the latest desktop operating system shipped by Apple and a lot of folks
like me already upgraded to Big Sur as Apple recommends. Everything is working smoothly with
the new OS. A minor issue I found is that creating bootable USB on Mac is much harder than
before.
When you searched the question in Google, you will find several bloggers from the top search
results, suggesting using commands to complete the task. However, most of them were done
on Mojave, the predecessor of Big Sur. Unfortunately, it no longer works on Big Sur after I
followed the commands exactly. That’s why I wrote up such a post.
In this tutorial, we will share all the details on how to create a bootable USB on macOS Big Sur.
UUByte ISO Editor for Creating Windows Installer USB
If you’re on a Mac running macOS Big Sur even an older version, you’ll need a special utility to
burn ISO files to flash drives to create bootable Windows installation media. However, you’ll
need something that is compatible with Big Sur or it won’t work. We recommend UUByte ISO
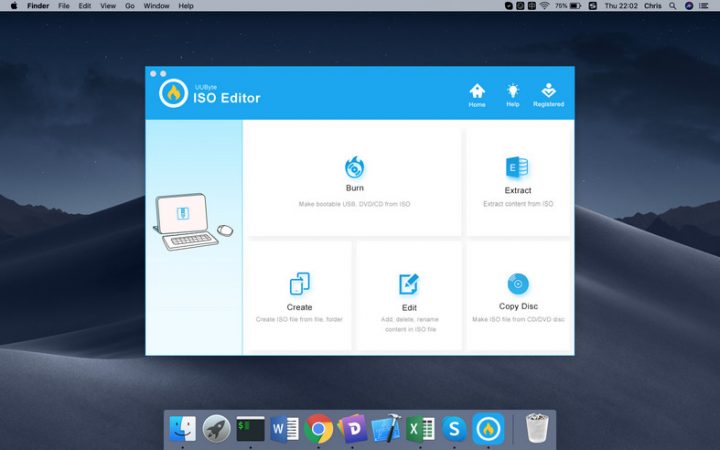
Editor when working with Windows ISO files on Mac. It’s easy to use, offers additional
functionality like editing, copying, creating, or extracting from ISO, and even first-time users will be totally comfortable with its very powerful yet highly simplified interface.
Here’s what you need to do after acquiring your Windows ISO file:
- Install UUByte ISO Editor and launch the application. When you see several options on
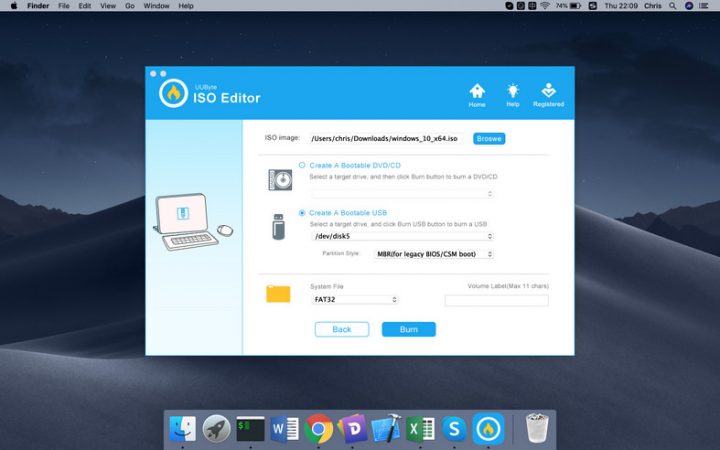
the home screen, choose Burn. Insert your USB drive at this point. - On the next page, select your ISO file and drive letter or drive name corresponding to
your USB, and hit the Burn button. You can name your file in the same window as well.
You’re waiting for more steps? Nope, that’s it! The software pretty much does everything for
you, so all you need to do is do the installation like you’d install any Mac application. After that,
it’s just a few clicks to get the job done.
The best part about using this tool is that it offers one of the highest success rates for burning
an ISO to USB. Anyone with even a little experience working with ISO disk images knows how
tricky it can get if your file is corrupted or the burning process is flawed.
Deepin Boot Maker for Creating Linux Bootable USB
If you need to burn the ISO of a Linux distro on a Mac, we recommend using Deepin Boot
Maker. It’s an open-source utility available for both Windows as well as macOS, and it is
relatively simple to use – at least when you compare it with many of the other command-line
tools for burning ISO to USB.
- After getting the installation file here, install the program on your Mac as normal.
Assuming you already have the Linux ISO file downloaded to the same Mac, insert a
USB flash drive into the computer and proceed to the next step.
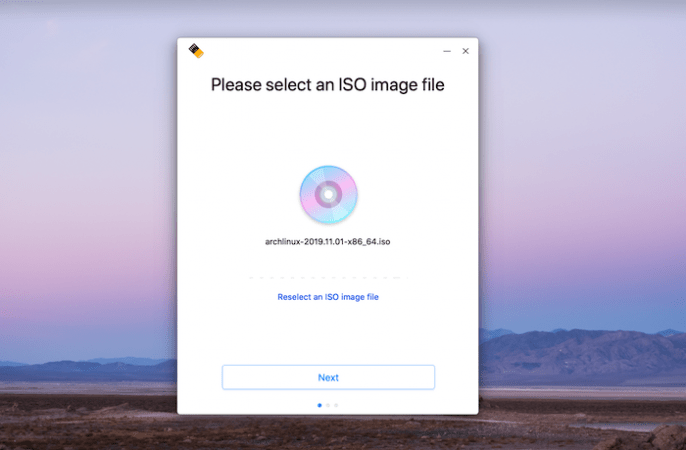
2. When you launch the Deepin Boot Maker, you’ll be prompted to choose the ISO image. You
can either click on the Select an ISO Image File button or just drag the file and drop it
into the interface. Click Next.
3. In the subsequent page, you’ll be asked if you want to format the USB drive. This is
usually recommended, so check the box for that.
4. Finally, click the Start Making button to burn the file to USB.
As you can see, it’s not that hard to use. However, you may not get the same burn success rate
as UUByte, in which case you can try UUByte ISO Editor for Mac as an alternative for burning
Linux distros to USB.
Final Words of Advice
Although open-source utilities are truly useful for advanced users, the same can’t be said for the average Mac owner. If you don’t have any technical expertise, you can either spend hours on YouTube watching instructional videos – or, you can decide to spend a few bucks and get
premium software. That’s the only way to get advantages like customer support and technical
help in case something goes wrong.
The final point to note is that the source of the ISO file is extremely critical. Even the best ISO
burning software won’t help if the disk image itself is corrupt. Many applications offer to verify your USB after burning the ISO, just to make sure it works. It’s a good idea to verify the disk after the fact, but it’s always better to do a checksum on your ISO file before trying to burn it to a USB, especially if it’s a bootable ISO like Windows or Linux.
Also Read: