
Installing Mac OS on AMD, Haswell and some HP laptops are different than other computers. If you have followed IntoGuide.com, Installing macOS Mojave on VMware Requires an Unblocker and a code. But Installing Mac OS on AMD processors do not require Unblocker and the Code, instead, it requires a bootloader.
After Creating the Virtual Machine first, you are adding the Bootload.VMDK file to VM and then you will add the Mac OS itself to the VM. Once you are done with these procedures, you will need to type the kernel otherwise you are not able to use mac os x Yosemite on VMware on Windows.
Download Required Files:
- WinRAR
- VMware Workstation Pro or VMware Player
- Google Drive: Download Mac OS X Yosemite with Bootloader
- Mega Drive: Download Mac OS X Yosemite with Bootloader
Install Mac OS X Yosemite on AMD Processors on VMware
Step 1. Install Vmware Workstation Pro on Windows 10
Vmware Workstation Pro or Vmware Player, you can use any of them but since I am using VMware workstation Pro for Windows Server 2019 & other IT stuffs, that’s why I need it. So, if you don’t have the Vmware Workstation Pro then use the free version of Vmware called VMware Player.
If you Know the Installation Process, simply Skip Step 1 and Move to the Step 2.
- Double-Click on the setup to start the Installation Wizard.
- On the Welcome screen Click next.
- Accept to the Licence & agreement and click next.
- On the Custom Window page, don’t do anything & click next.
- Deal yourself with User Experience settings & click next.
- On the Shortcut window click next.
- Now click install to copy the Files inside the Drive C.
- Once the Installation is complete click Finish.
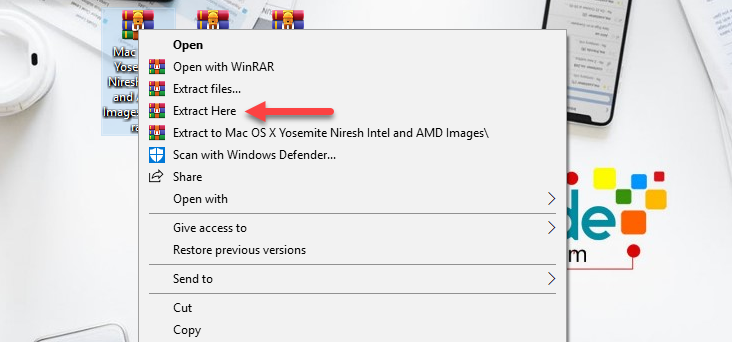
Step 2. Extract the Mac OS X Yosemite
Mac OS X Yosemite has been compressed using WinRAR in order to save 2 storage. Basically, you can Extract it using WinRAR or 7-Zip. 7-Zip is an open source software then can zip and unzip files but WinRAR is not free and if you want to use it permanently, you have to purchase it.
Step 3. Create a New Virtual Machine
After Installing Vmware & Extracting mac OS X Yosemite, you need to create a Virtual machine for it. So, Open the VMware workstation Pro or Vmware Player.
- Once VMware Workstation Pro is launched, on the Home page select Create a New Virtual Machine.
- On the Welcome Screen, select Typical (recommended) and click next.
- Select I will Install the Operating system later and click next.
Select a guest operating system of Microsoft Windows with the version of Windows 8.x x64.
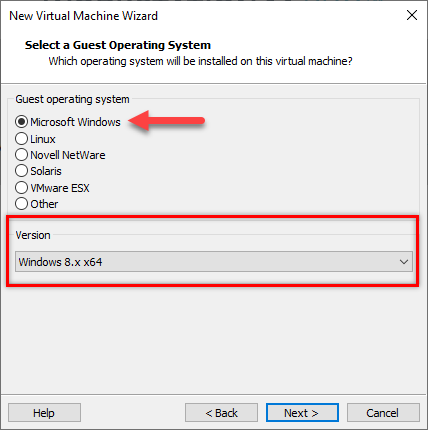
After specifying the Guest operating system version it is time for you to name the Virtual Machine and locate a place where you want to save it.
- Specify the Disk Capacity and click next.
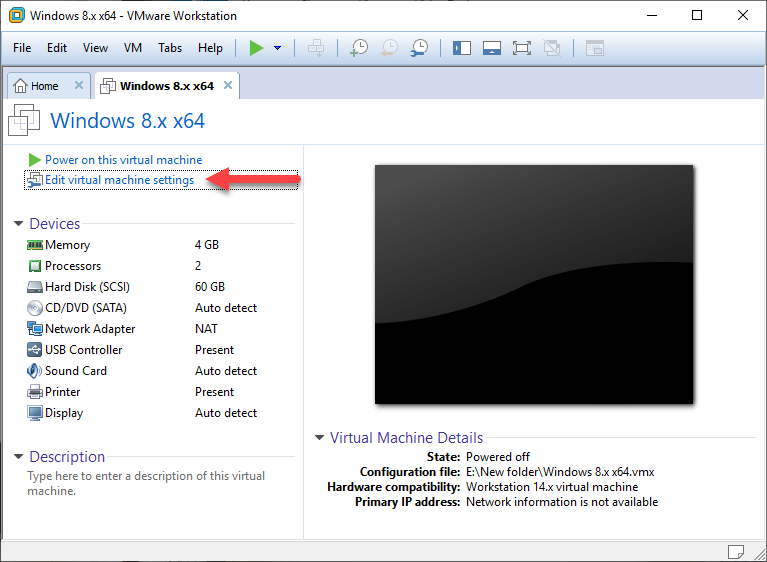
- When you reached the last windows known as Ready to Create Virtual Machine select customize and Increase the amount of RAM from 1 GB to 2 or 4 GB.
- Also, increase the number of processors to 2 for better performance.
- When you are with customization click close and select Finish.
Step 4. Attach the Mac OS X Yosemite to the Virtual Machine
Once you have created the Virtual Machine, you need to attach the Mac OS Yosemite to it. To add it select edit Virtual Machine settings.
Now, select the Hard Drive and Remove it First, once it is removed select add.
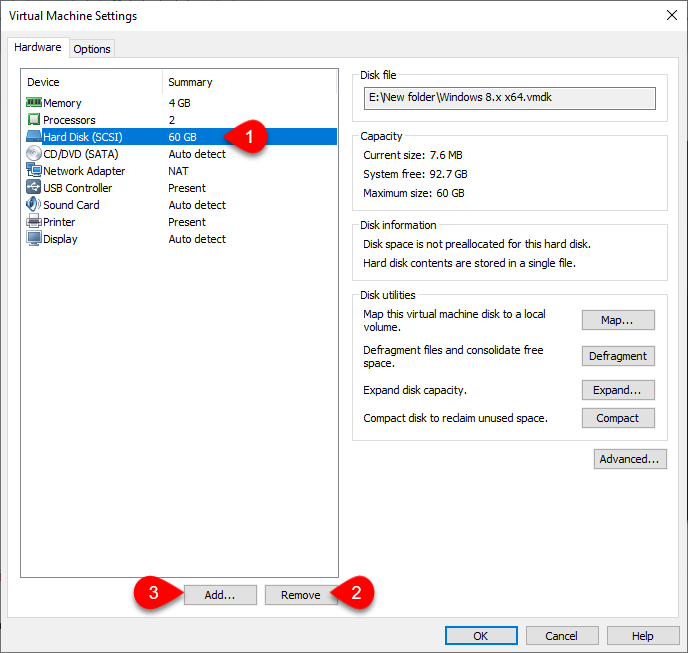
- Once you selected add you will be on the Hardware type window, there you have to select Hard Drive and click next.
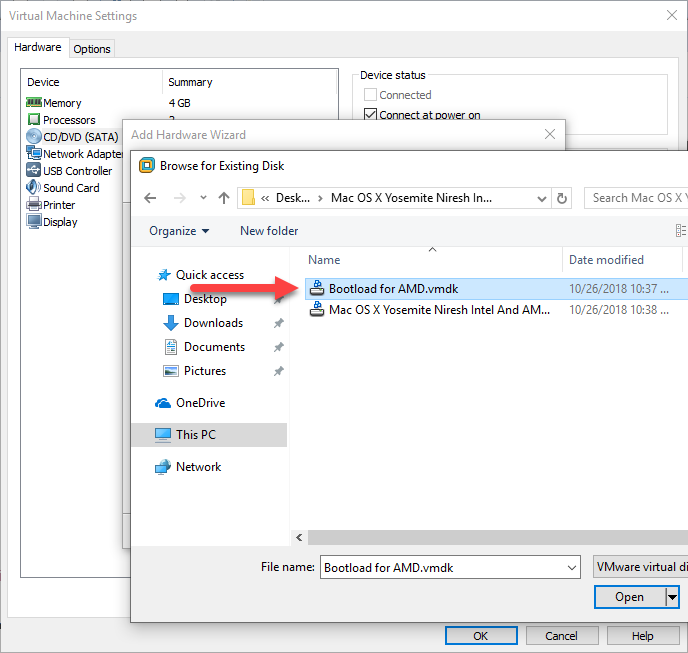
- Select a Disk type of SCSI (Recommended) and click next.
- Select Use an existing Virtual Disk and click next.
- After that select Browse and locate the Mac OS Yosemite Bootloader and click open.
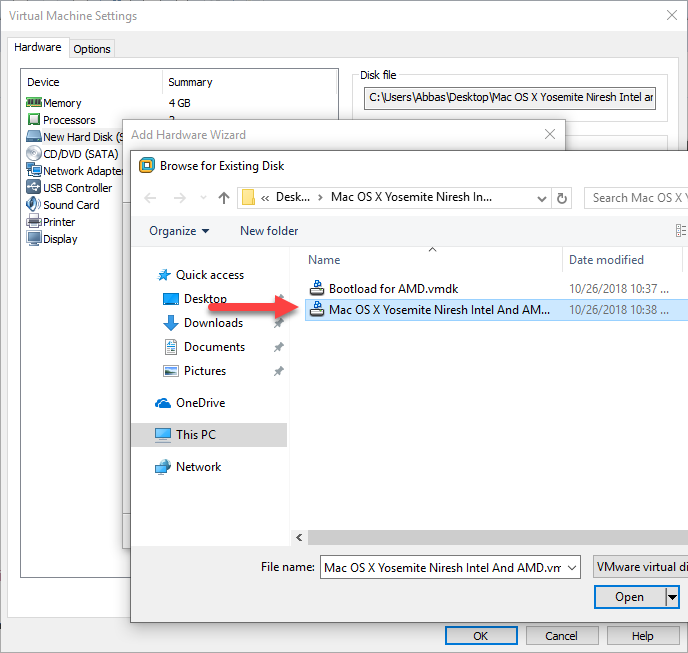
OKAY! once the Bootloader is added, you need to add the second VMDK file too. to Add that select Add> select Hard Disk on the Hardware type wiondow> select SCSI (Recommended)> Select Use an existing Virtual Disk> and locate the Mac OS X Yosemite.
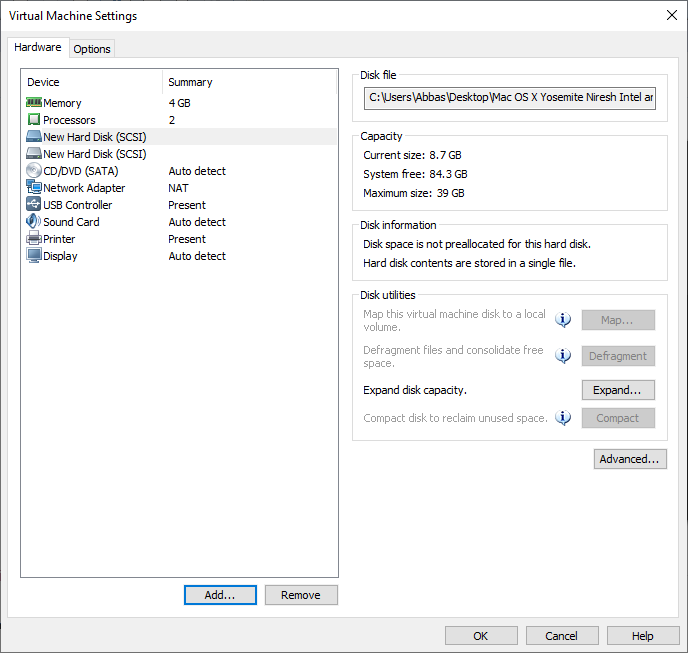
Nowhere have a look at the Virtual Machine settings which has 2 Hard Drive.
Step 5. Install macOS Yosemite on VMware
The Installation process is really simple and you can install it without any problem. But the only problem is that other PCs or rather Intel Processors can naturally support macOS. But HP, AMD, and Haswell you have to type the Custom Kernal In order to Install.
- In HP laptops you have to type the Kernal /hp or /hp1
- In Haswell, you need to type /Haswell
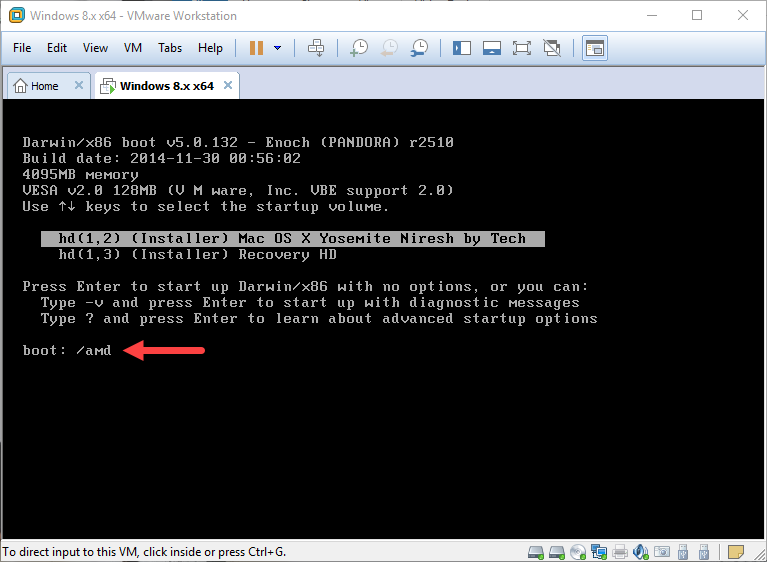
But in AMD Processors the kennels are listed below:
- /amd
- /amd1
- /amd2
- /amd64
- /amd32 (its actually a 64 bit kernel)
- /amdfx
In order to use the Kernal, start the Virtual Machine and it will be directly in the Kenal window, where you need to type your Kernal and hit enter on the keyboard.
Once you typed the Kernal, wait until the Gray Screen should go away and you will on the welcome screen.
- On the welcome window select your country and click continue.
- Select your Keyboard Layout and click continue.
- Select Local Internet and click Continue.
- Select Don’t Transfer any information to this mac and click continue.
- Agree to the Terms and conditions and click continue.
- Type your Account Name and Password and click continue.
- Click continue on the diagnostics and usage.
- Now, wait until the mac should set up.
Conclusion
well, It was all about How to Install Mac OS X Yosemite on AMD Processors on VMware on Windows? I hope it was helpful to install mac os x Yosemite on VMware. If you like this post please share it with your friends and relatives, plus subscribe to IntoGuide’s YouTube Channel.
6 comments
Hello, I know it is old, but I follow your steps, and the last step, have an error //ibb/KbkvMXd
I have an AMD A8 cpu, and also have tried /amd -v -x on the kernel
Giant pain in the neck. Not able to get past the gray screen error. Same error as above, clearly it doesnt work.
similar error im afraid > https://ibb.co/fdfkLq
thanks for the guide but I have issues.
I get to step 5 where you have to type the Kernal and I have tried all Kernal options but everyone produces the following error > https://ibb.co/ipQoMV
im using AMD Ryzen 7 2700
this time try /amd -v -x in the kernal