
macOS Big sur is the beginning of the new era of new operating system in Apple desktop environment. It has moved form the 10.x to the macOS 11.0, and macOS Big sur is the first operating system to be called macOS Big Sur 11.0. This operating system’s design is almost similar to iOS 14 and iPadOS 14. The notification style, the curved edges of the window, widgets and more. However there are many updates and changes in it compare to the macOS 10.15 Catalina.The major updates covers the Safari, message app, Notification center, Maps and bunch of other stuff.
Read and write NTFS drives on macOS Big sur and other (Method 1)
New Technology file system (NTFS) is the file system in Microsoft Windows since the 90s. Unfortunelt this file system is not accpetable inside the macOS, when you want to read or write it. For that puposes there are many companies offering several types of apps for mac (Obviously users buy this prodcuts) to read and write ntfs file system.
The only format which is able to read and write between both operating systems, is non-other then the exfat. Exfat is the file system in linux operating system and linux sub systems. It is better to format the USB of HDD with exfat if you want them to be read and write in mac.
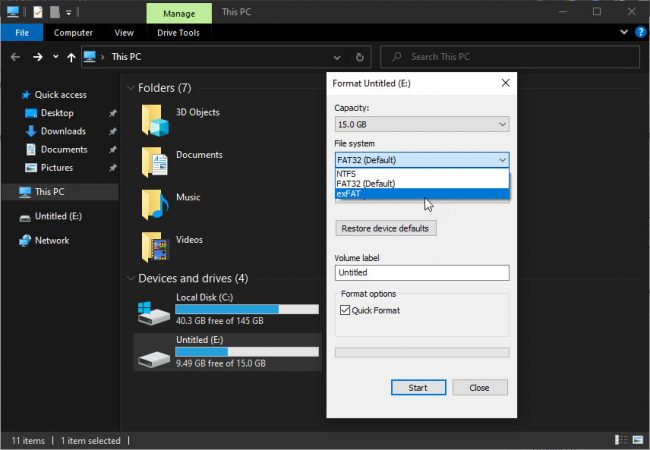
On windows, right-click on the USB flash drive, and choose fromat, from their choose exFAT.
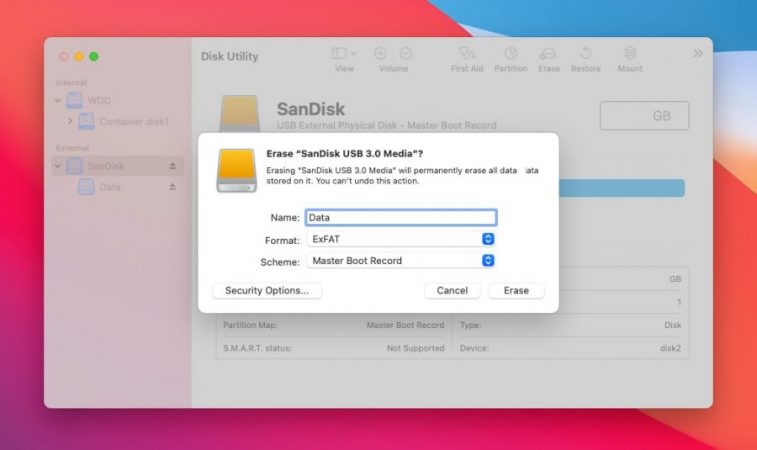
If you want to format the USB as exFAT, open the Disk Utility from Launch pad, or just just for it in the spotlight. Once it is opened, choose the USB flash drive, and then choose erase, choose the format as exFAT and the scheme as Master boot drive.
This method is good, if your USB has not data or not too much data, but if you have a 2 TB HDD, it will be kind of a big deal. You just can’t format the drive, for that reason, you can use the terminal to read and write NTFS on macOS without third party software or apps.
Read and Write NTFS drives on macOS using Terminal (Method 2)
Since the begging of the mac OS X, mac was never really a fan of Microsoft operating systems file system NTFS and Fat32. And beside, the reputation of a company and the core is also kind of different story. To read and write the NTFS drives on macOS big sur and the older versions, follow the below steps.
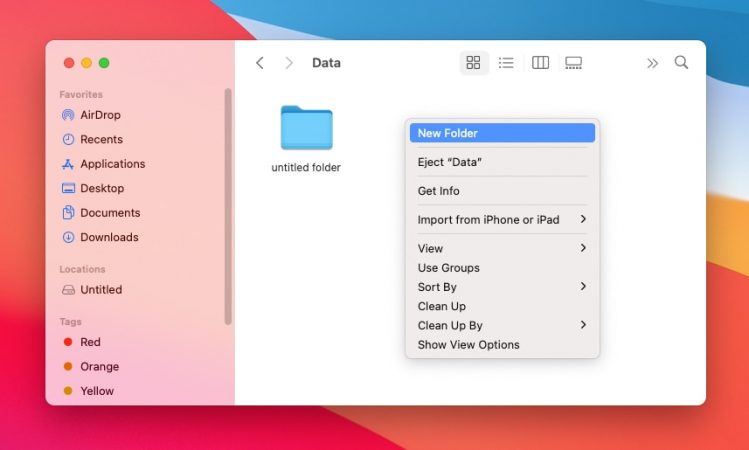
Step 1. You have all your data on your USB or HDD, Label it, I mean rename your USB or HDD. In my I will go with name called “Data”. Once you are done with labeling, eject is from windows and attach it to your mac.
Step 2. Open Terminal (You can open it using the spotlight of the LaunchPad, it’s up to you.)
Step 3. One the terminal is launched, type the following command.
sudo nano /etc/fstabStep 4. Type the following command in the Terminl, don’t forget to replace the “Name” with the label of the USB or HDD.
LABEL=NAME none ntfs rw,auto,nobrowse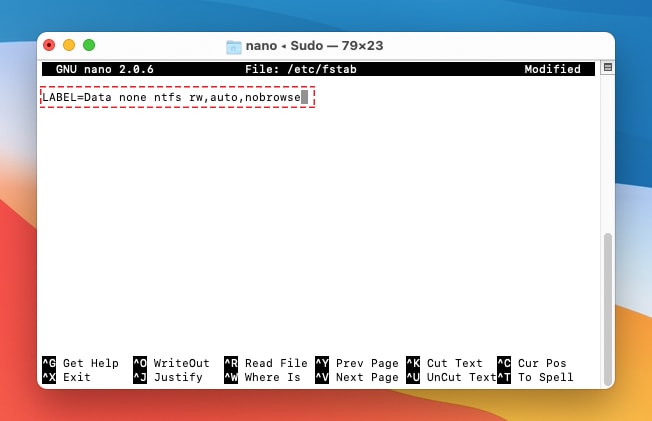
Step 5. Once the second command is applied, you have to save changes to the file. To do that, hold command + O mac or ctrl + o on windows. You can close the terminal by clicking on the x button, or hold command + x to close the GNU.
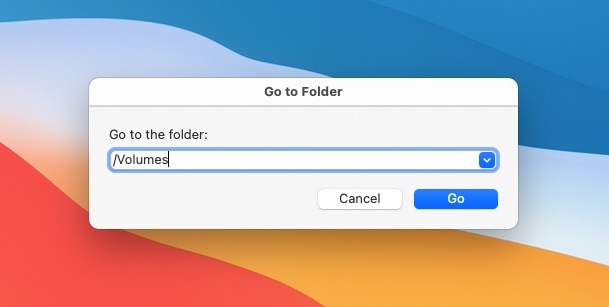
Step 6. Unplug the USB flash drive form mac, and reattach it, then go to the go menu and choose find. Their type Volume and hit return key.
Now you are able to read and write your ntfs files on macOS Big sur without any third party sotfware.
iBoysoft NTFS for Mac (Method 3)
Do you want to have full read-write access to NTFS drives on Mac? Microsoft NTFS for Mac by iBoysoft is your best option. Read more about iBoysoft NTFS for Mac and have full read-write access to NTFS drives on your Mac.
Also read: