
At WWDC 2021, Apple announced its new and major operating system called macOS Monterey which is the 18th major release of macOS. Some major updates are brought to macOS Monterey such as exciting FaceTime and powerful new ways to work across devices and many more. If you want to know the step-by-step guide on how to install macOS Monterey on VMware on Windows virtually, you are on the right page. To get started follow the following guide.
Since macOS Monterey is currently the Beta version so before deciding to upgrade your Mac’s operating system, it’s recommended to try installing macOS Monterey virtually on your Mac, or those who don’t have Mac can install it virtually on Windows PC.
There are many ways and software you can use to install macOS Monterey virtually, as we have already covered installing macOS Monterey on VirtualBox on Windows, and in this guide, you will learn how to install macOS Monterey on VMware on Windows.
Steps to Install macOS Monterey on VMware on Windows
Step #1. Download the Required Files
In the first step, you need to download some required files, and applications which are essential for this process. You can download all prerequisites from the given links below:
- Download VMware Workstation 16 Pro Or VMware Player 16
- Download macOS Unlocker V3 for VMware Workstation
- Download macOS Monterey Beta ISO
Step #2: Installing VMware Workstation
You should have downloaded all the prerequisites. First, you need to install VMware Workstation Pro Applications. If you already have it installed on your system, then you may skip this step and proceed forward. Remember you need to install VMware Workstation Pro 16 or VMware Player 16, you don’t need to install both.
I am installing VMware Workstation Pro 16. To begin the installation, simply run the setup and follow all the prompts and leave all the options by default.
- Extract and open VMware setup
- Click Next
- Tick the terms in the license agreement box and click Next
- Click Next
- Choose the shortcut and click Next
- Click Install
- Finish
Step #3: Unlocking VMware to Install macOS Monterey on Windows
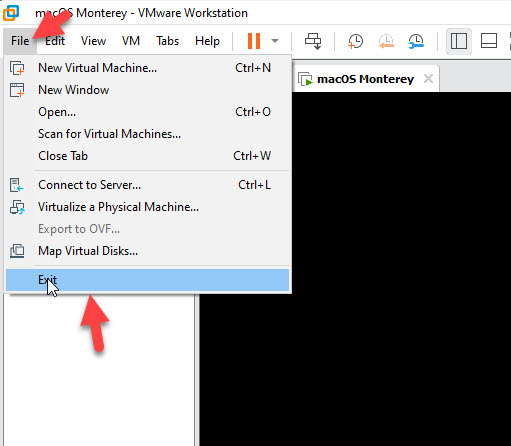
In this step, we need to unlock VMware to install macOS Monterey on Windows. You should have already downloaded the unlocker. Remember first you need to exit the VMWare Workstation completely from the background too because the VMware unlocker doesn’t work if it’s running. To do so click on the File and then click Exit.
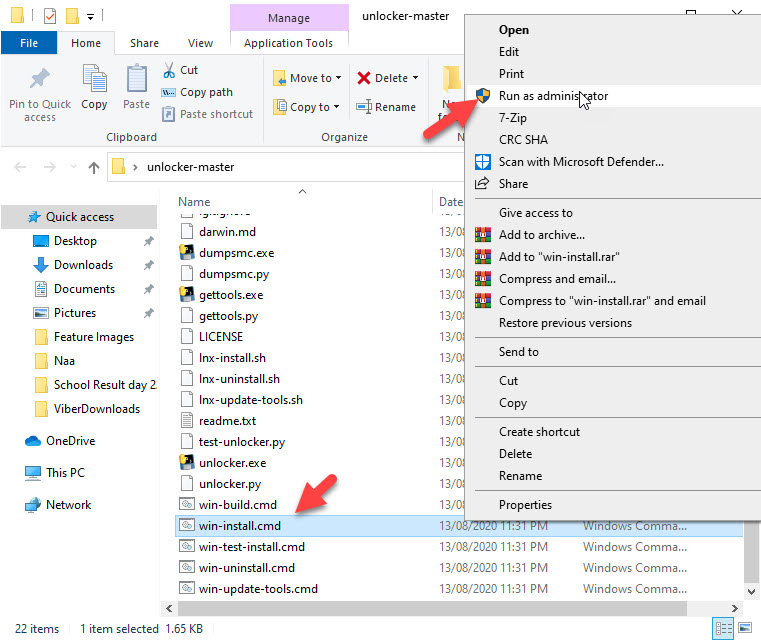
Now extract the macOS Unlocker, Open the extracted folder and find win-install.cmd, right-click on it, and Run as Administrator. If you have already installed a previous version of VMware unlocker, it’s recommended to uninstall it first before installing the new version.
Step 4: Creating a New Virtual Machine on VMware
When the VMware unlocker installation process is completed. In the next step we need to create a new virtual machine on VMware to install macOS Monterey on it. Follow the following steps to create a new virtual machine.
- Open VMware > Create a New Virtual Machine and select Typical (Recommended) > Next
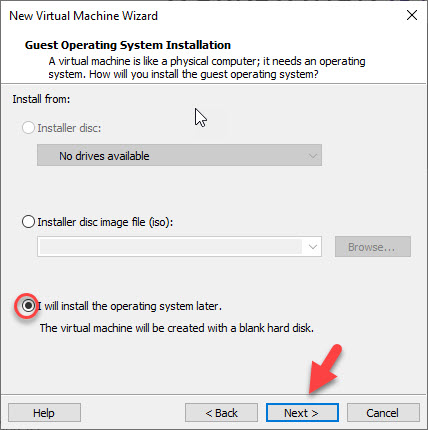
- Select I will install the operating system later > click Next
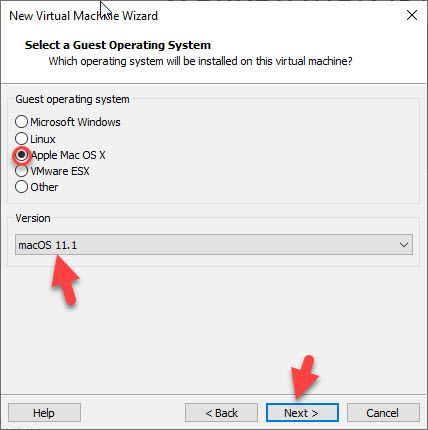
- Choose Apple Mac OS X from the guest operating system list > Select Version macOS 11.1
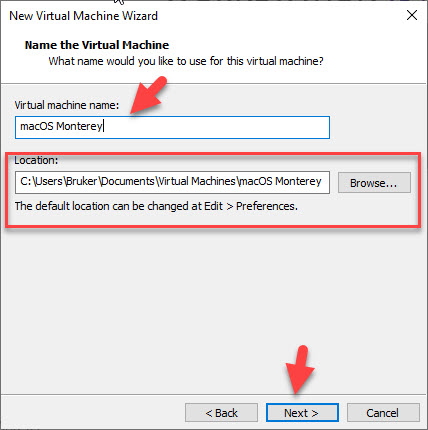
- Type the virtual machine name (macOS Monterey) and select a location for it and then click Next.
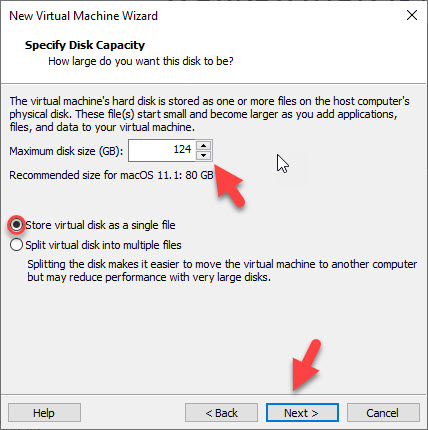
- Increase the disk size to 124 GB > Select Store virtual disk as a single file > Click Next
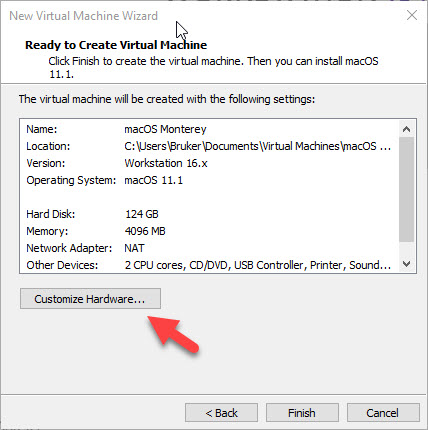
- Click Customize Hardware
- Increase the memory size to 8 GB and Processor to 4 for better performance.
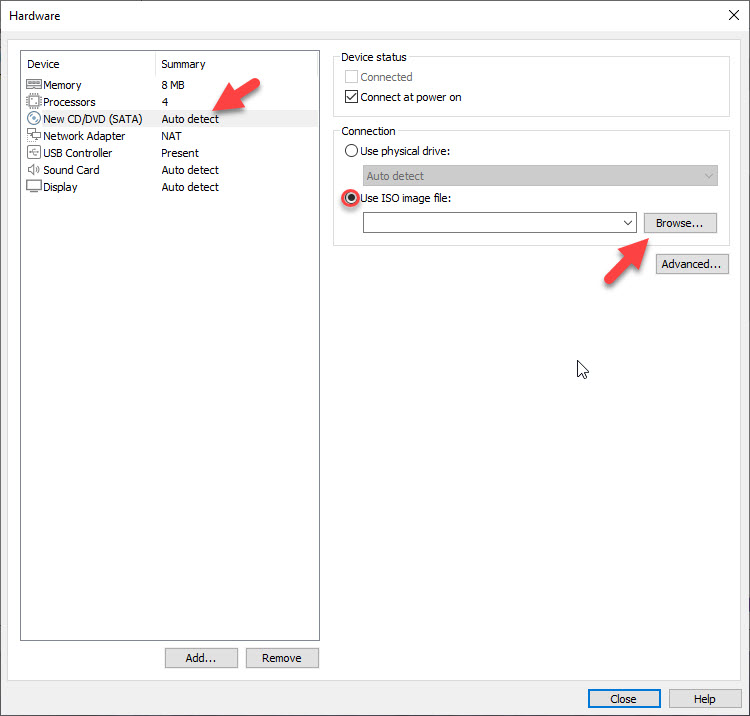
- Select New CD/DVD (SATA) from the menu > click use iso image file > click Browse
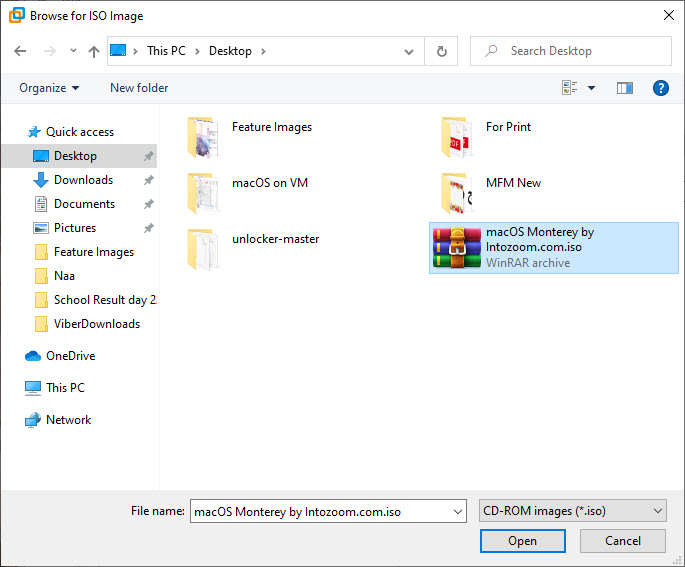
- Find the macOS Monterey iso file and Open it
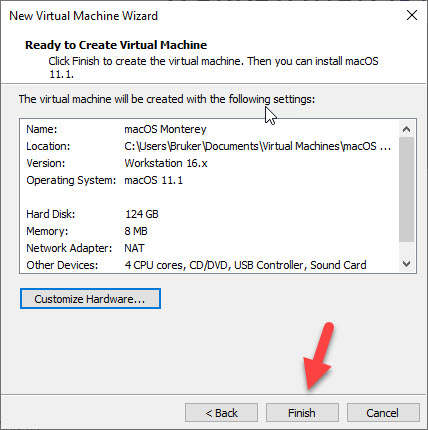
- Click Close to save all changes > Click Finish, now you have created a new virtual machine.


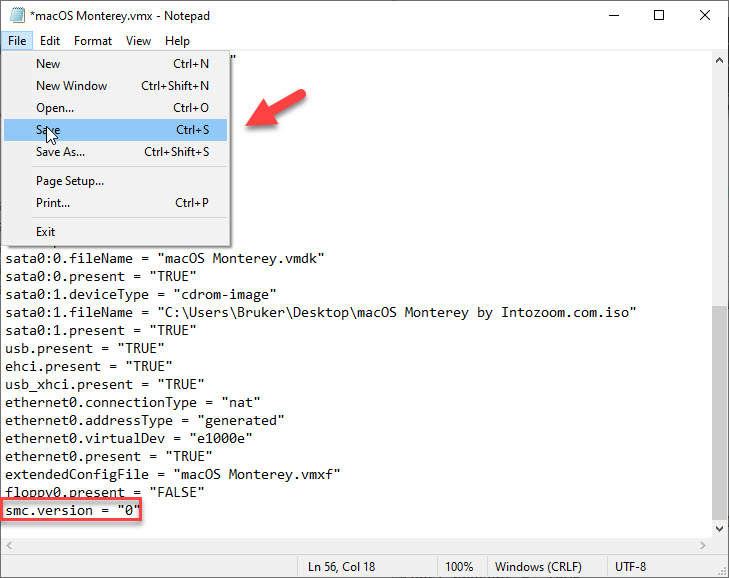
Step #5: Edit macOS Monterey VMX File
When the virtual machine is created the next step is to configure the macOS Monterey VMX File. You can access this file from the folder you selected before in Step #3. If you have not changed the location of it then the default file location that you can access it is:
C:\Users\Bruker\Documents\Virtual Machines\macOS Monterey
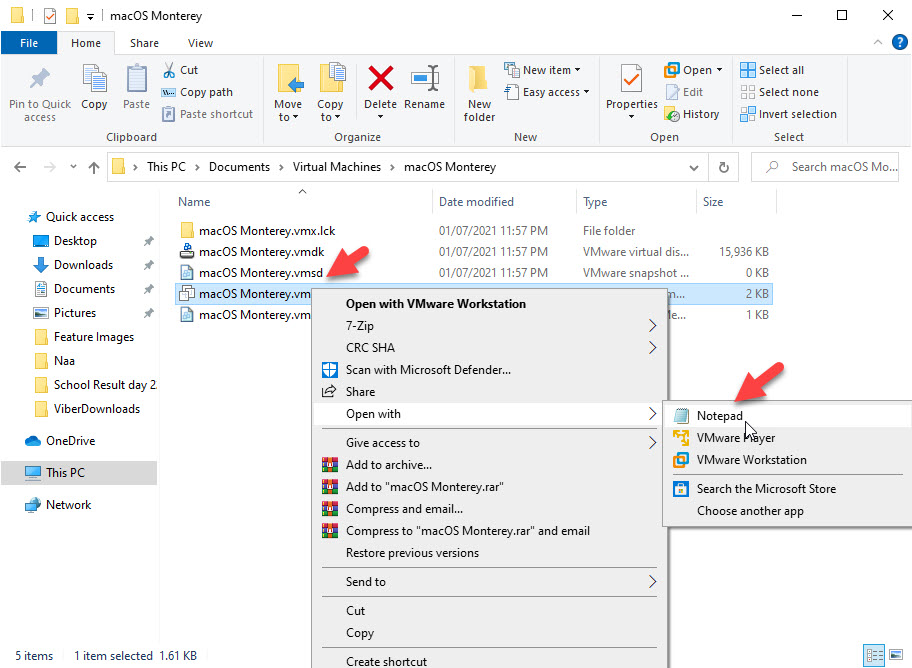
To configure it, open it via notepad or any other text editor. Here you need to add the following code to the bottom of these texts. Scroll down to the bottom and add this code: then click on File and save the file then exit.
smc.version = “0”
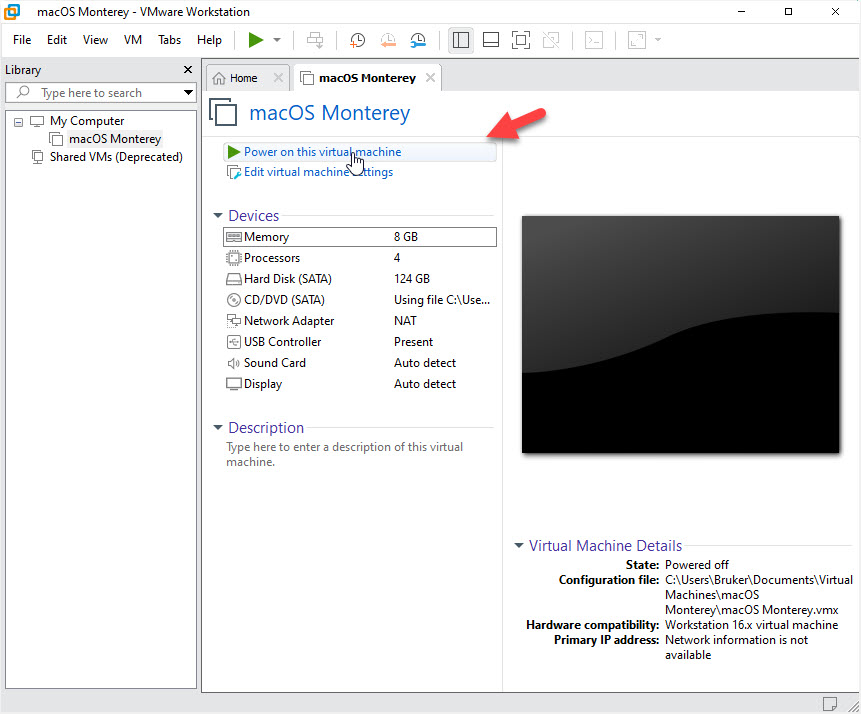
Step 6: Starting macOS Monterey Virtual Machine
Now the machine should have been crated on VMware and the next step we need to start the machine. Follow the following steps:
- Open the VMware and click Power on this virtual machine and for the machine to boot
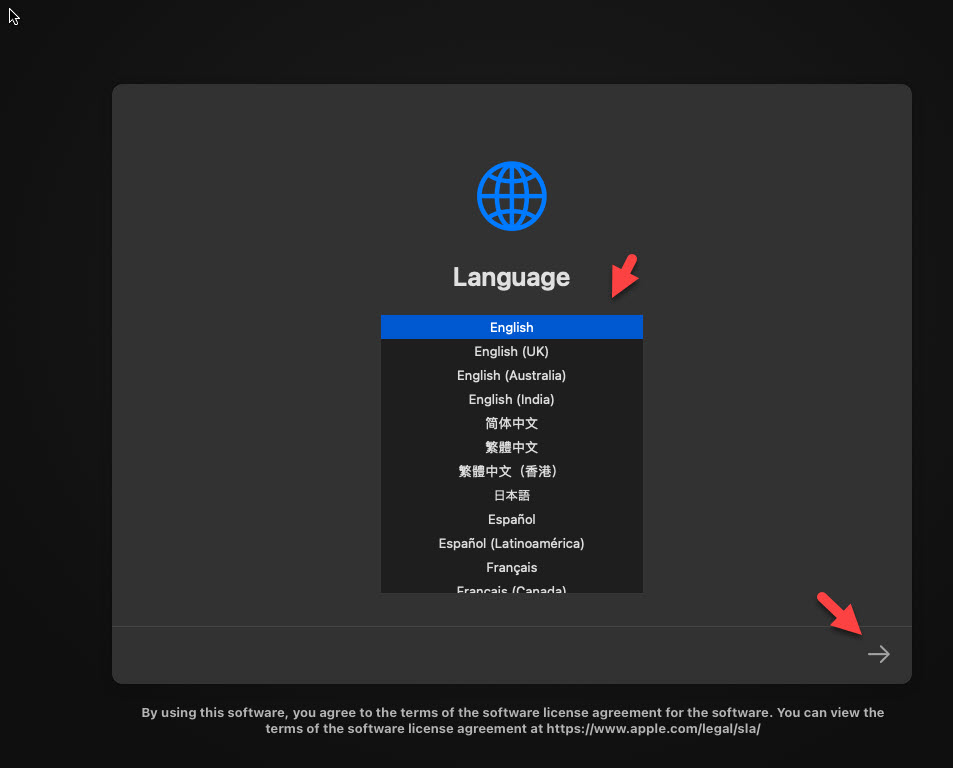
- Select your preferred language and click the Arrow
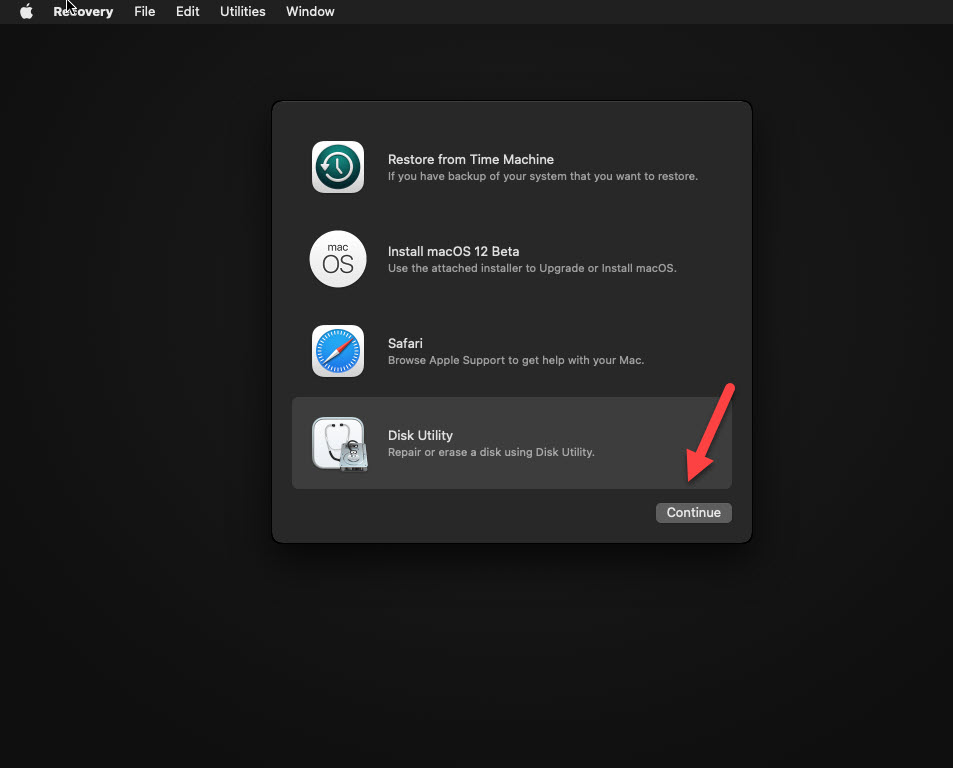
- Select the Disk Utility > Click Continue
- Click the VMware Virtual SATA Hard Drive Media > Click Erase
- Type the name, for Example, macOS Monterey HD > Select format as APFS > Click Erase
- Click Done and the dialogue box will be closed
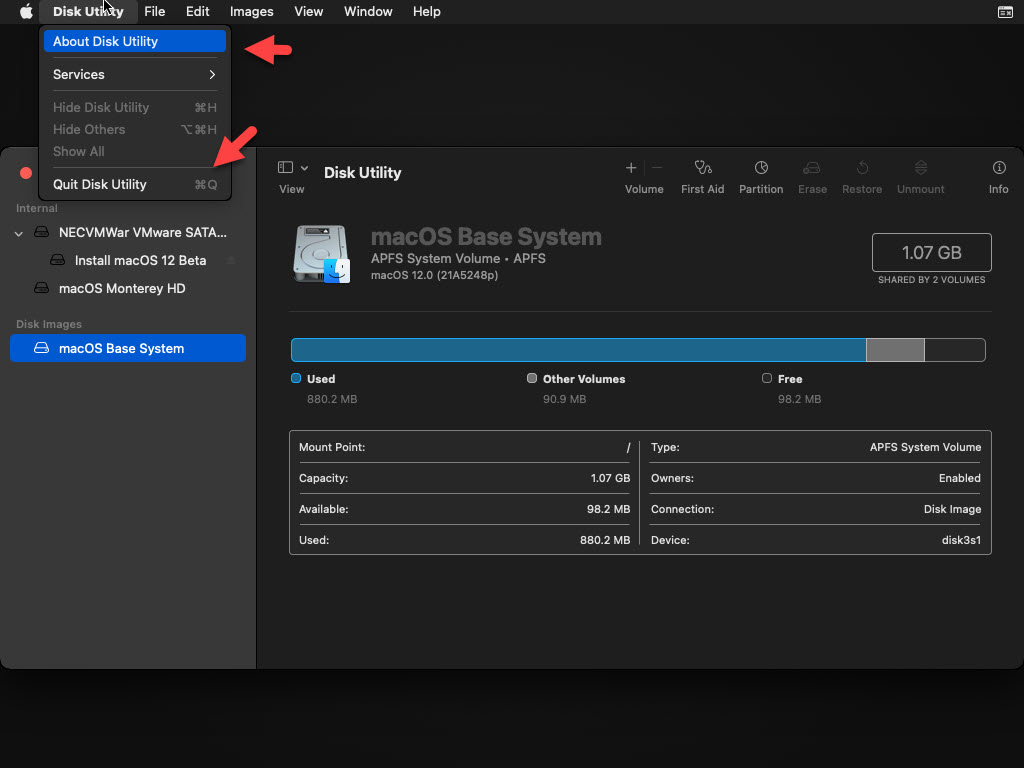
- From top menu > Click Disk Utility > click Quit Disk Utility
- Select Instal macOS 12 Beta > click Continue
- Click Continue
- Agree to the terms and conditions of the software license agreement
- Choose the available disk > click Continue


Now if you don’t face any error the macOS Monterey will restart several times to complete the installation process itself. You don’t need to take any action here until the installation is completed. If you face any error in this step, please let us know in the comment section below.
Step #7: Complete Installation Process
After the machine restarted several times, the Apple Logo will appear and then we need to complete the macOS basic account settings. The following steps are required in the settings.
- Select your country > click Continue
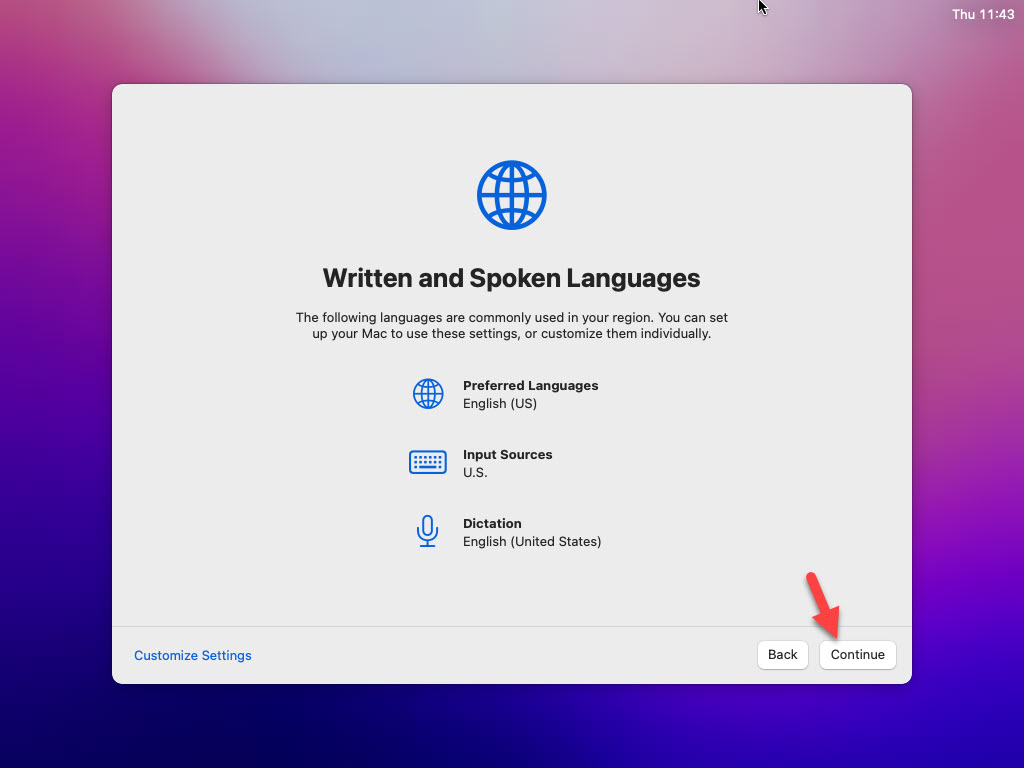
- Click continue if you agree to keyboard layout or you can customize it then click Continue
- By turning on Accessibility you will have several options such as motor, vision, hearing, and cognitive. If you don’t want to set it up, simply click the Not Now button to skip.
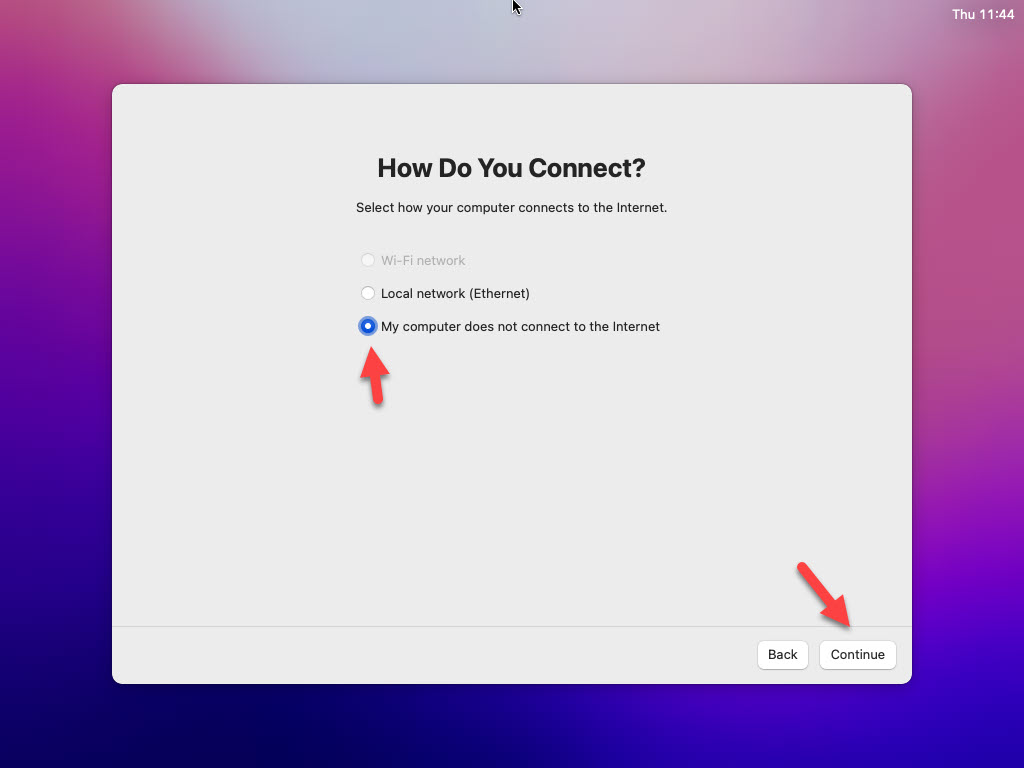
- Choose My computer does not connect to the internet.
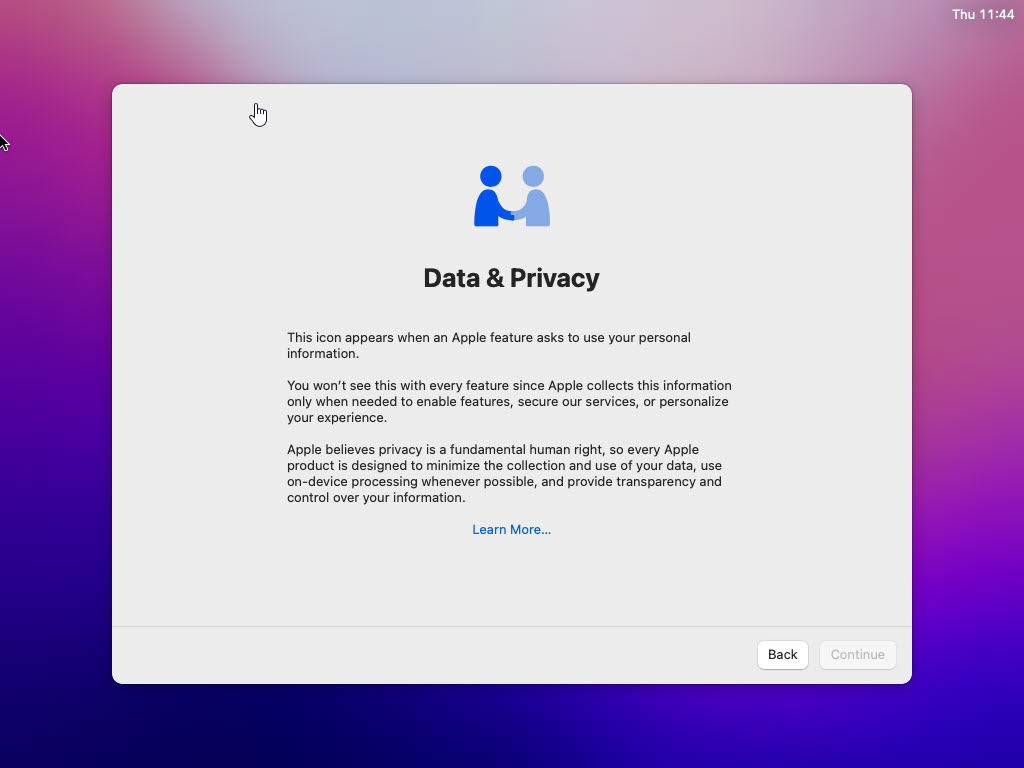
- Read the Data & Privacy > Click Continue
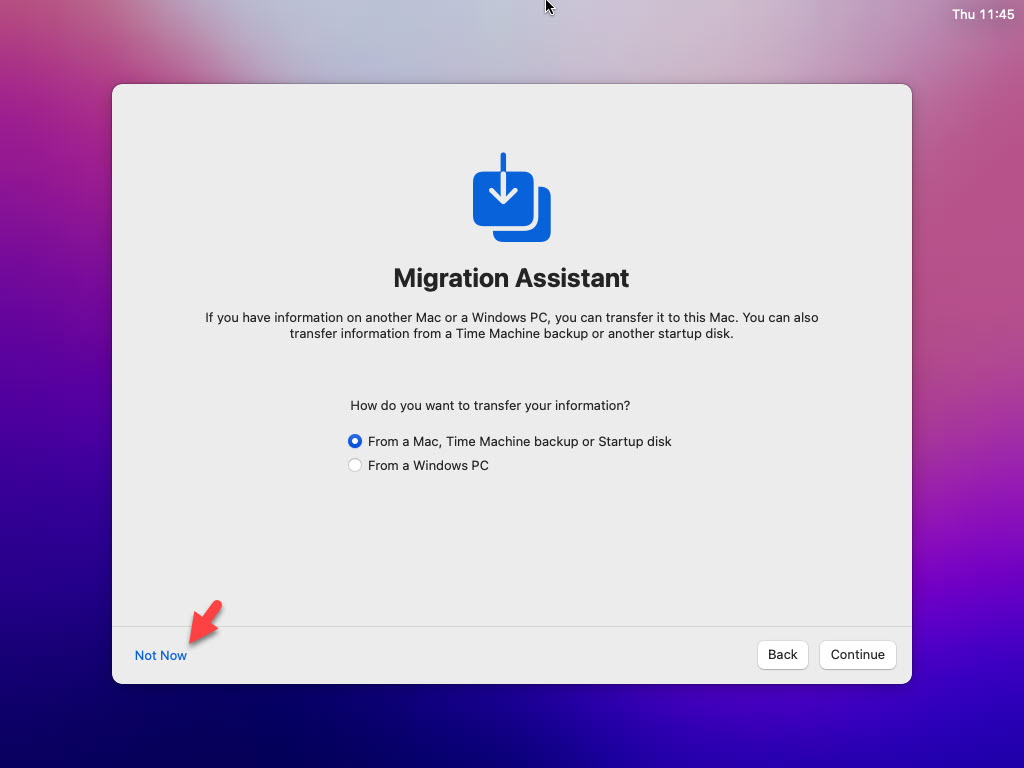
- Click Not Now in the Migration Assistant Page
- Don’t Sign in with your Apple ID now, click Set Up later
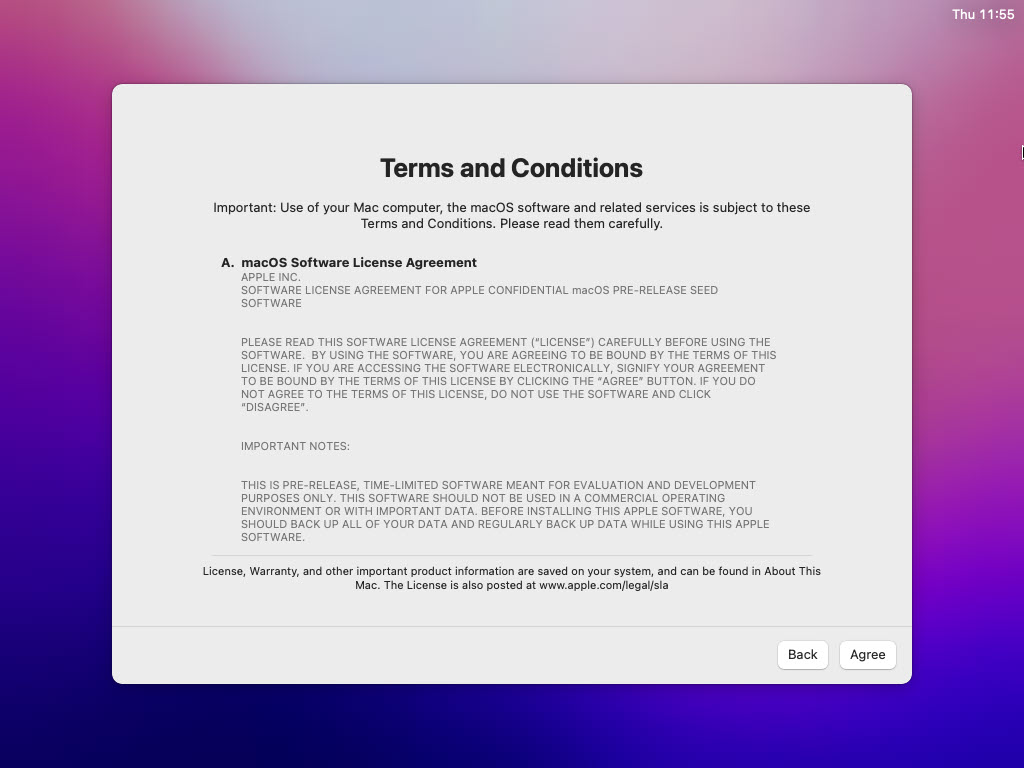
- Agree to the Terms and Conditions
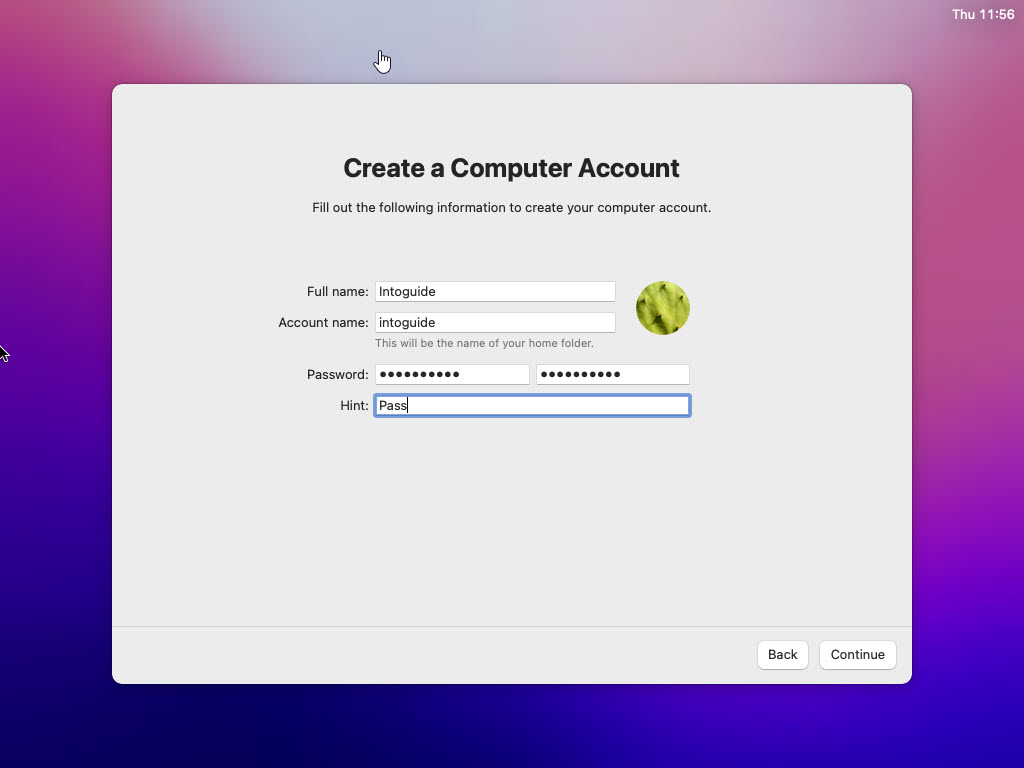
- Type your Full name, Account name, Password, and Password Hint and click Continue
- Click Continue on the page Make This Your New Mac
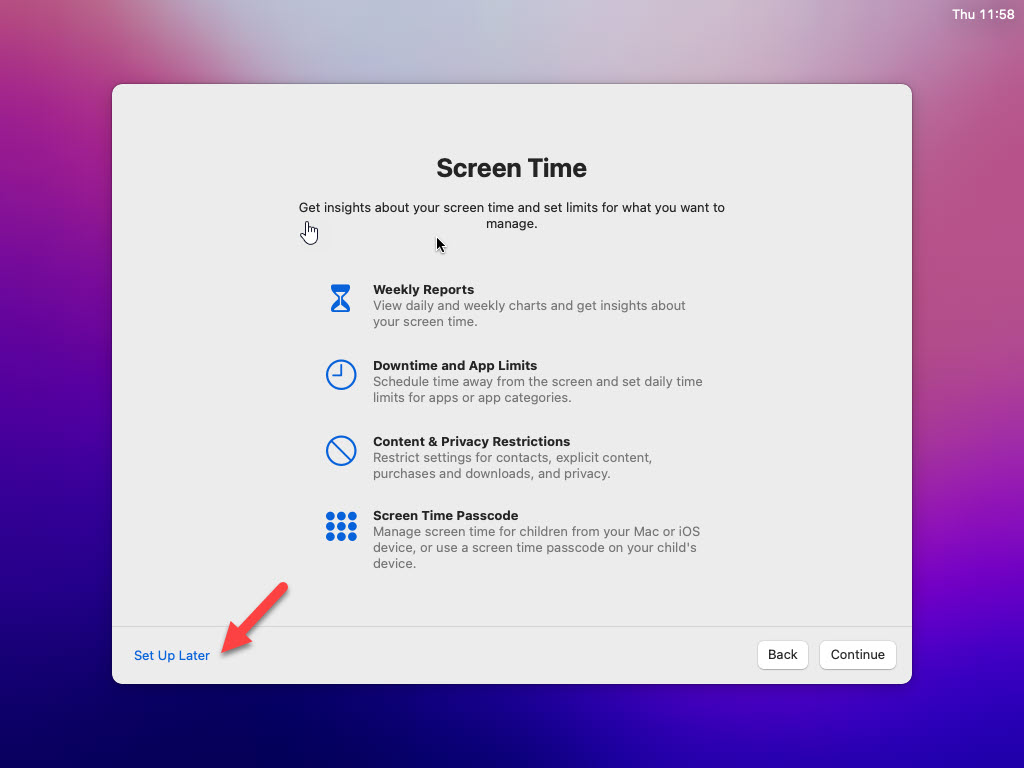
- Click Set up Later on the Screen Time
- You can Enable Siri but it’s recommended not to Enable it now, just click Continue
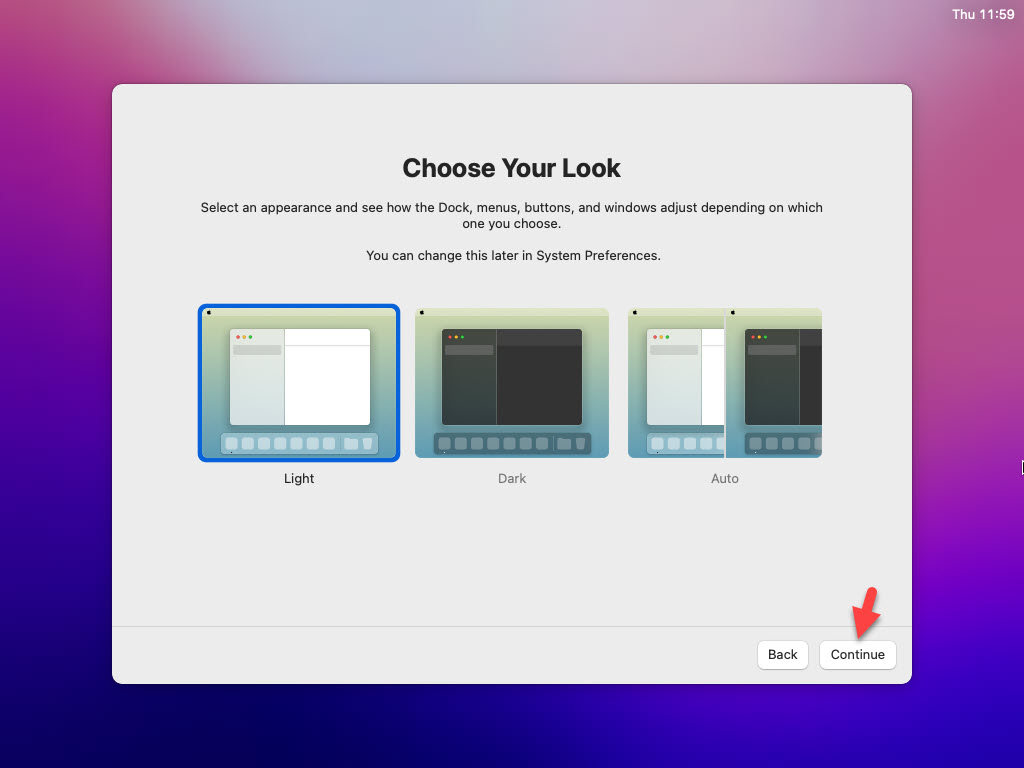
- Choose your preferred theme > click Continue


When macOS finish setting up then it will boot into macOS Monterey 12.0 Desktop.
Step #8: Capturing a Snapshot of the VM Machine
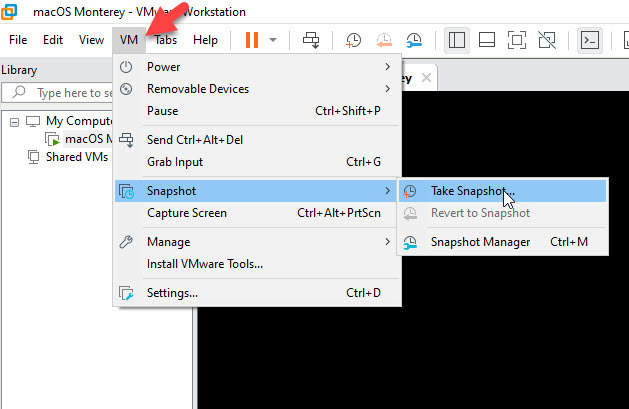
Capturing a Snapshot is good for security. When something goes wrong with your VM, you can run the created Snapshot to resume the machine from that point. To capture a snapshot of the VM, click on the VM from the top Menu bar > Click Snapshot > click Take Snapshot. Give a name description > Take Snapshot.
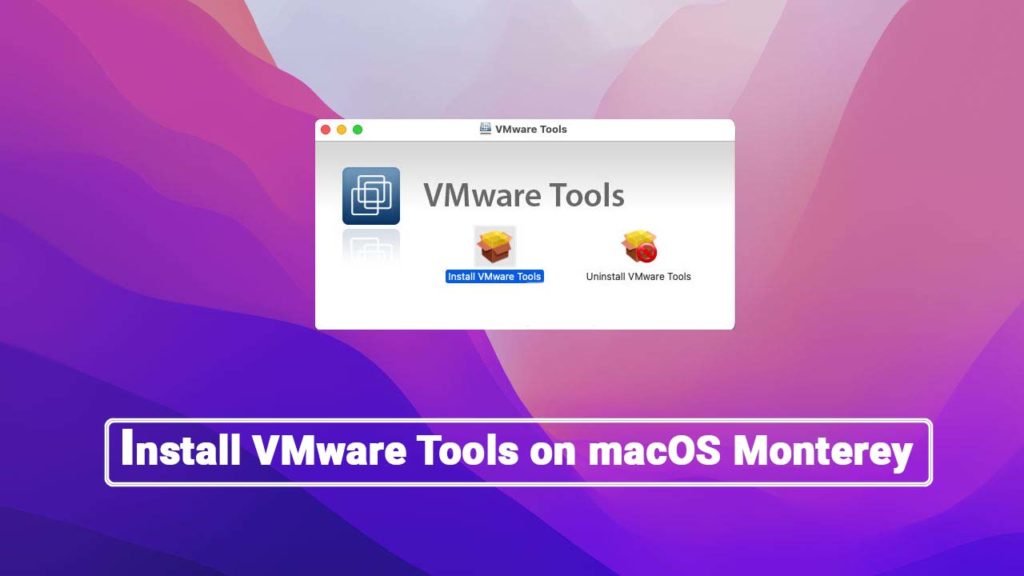
Step #9: Installing VMware Tools
Although this step is optional. Installing the VMware tools will fix the macOS Monterey resolution and make it run smoothly and more responsive. To install VMware Tools follow the guide from the given link below.
How to Install VMware Tools on macOS Monterey | Step by Step Guide
Summary
I hope you have successfully installed macOS Monterey on VMware on Windows. In summary, we covered the following steps in this guide:
Steps to Install macOS Monterey on VMware on Windows
- Download the Required Files
- Installing VMware Workstation
- Unlocking VMware to Install macOS Monterey on Windows
- Creating a New Virtual Machine on VMware
- Edit macOS Monterey VMX File
- Starting macOS Monterey Virtual Machine
- Complete Installation Process
- Capturing a Snapshot of the VM Machine
- Installing VMware Tools
If you face any error in the installation process please let us by commenting on the comment section below. We do our best to find a solution to every error you face.
1 comment
Thanks for the guide.
Unfortunately it’s not working for me: for some reasons, the virtual HDD isn’t detected by the MacOS Disk Utility.
I’ve tried many different setups, adding a second HDD image (doesn’t show up either), changing to SCSI or IDE, moving the disk image on the virtual hardware. Tried all, no avail.
The Disk utility only shows the CD image, not the hard-drive.
And it’s set up as written in the guide.
More specifically, the lines for the HDD entry in the vmx file are:
sata0.present = “TRUE”
sata0:1.redo = “”
sata0:1.fileName = “macOS 12-2.vmdk”
sata0:1.present = “TRUE”
sata0:0.deviceType = “cdrom-image”
sata0:0.fileName = “/Monterey 12.2 v17.2.02.iso”
sata0:0.present = “TRUE”
and the extended vmdk for the HDD is:
ersion=1
encoding=”UTF-8″
CID=fffffffe
parentCID=ffffffff
createType=”monolithicFlat”
# Extent description
RW 209715200 FLAT “macOS 12-0-flat.vmdk” 0
# The Disk Data Base
#DDB
ddb.adapterType = “lsilogic”
ddb.geometry.cylinders = “13054”
ddb.geometry.heads = “255”
ddb.geometry.sectors = “63”
ddb.longContentID = “1bf7782e4bc1391f10df1f4afffffffe”
ddb.uuid = “60 00 C2 95 0f 5f 45 ec-0f b0 40 c3 be 6a 84 d6”
ddb.virtualHWVersion = “19”