
Using a USB flash for installing an operating system is useful when your computer doesn’t have a CD drive or when you don’t have an operating system installation disc. Moreover using a USB for installing an OS saves your time and is easy too. This page teaches you how to create bootable USB for Ubuntu on Windows.
Also Read:
- How To Create A Bootable MacOS Mojave USB Installer Drive On Windows?
- How To Create MacOS Catalina USB Installer?
Ubuntu is a free and open-source Linux distribution based on Debian and is officially released in three editions: Desktop, Server, and Core. Ubuntu is a popular operating system for cloud computing, with support for OpenStack. this operating system is released every six months, with long-term support releases every two years. Wikipedia
Ubuntu supports every coding language you throw in it, including Python, Ruby, JavaScript, Perl, C, and C++. Moreover, Ubuntu is also typically less susceptible to viruses and malware.
So, if you are a coder switching to Ubuntu from Windows or Mac will be beneficial and you won’t’ regret using Ubuntu.
To install Ubuntu you need to create a bootable USB installer first. Follow the step by step guide below on how to create bootable USB for Ubuntu on Windows.
How to Create Bootable USB for Ubuntu on Windows
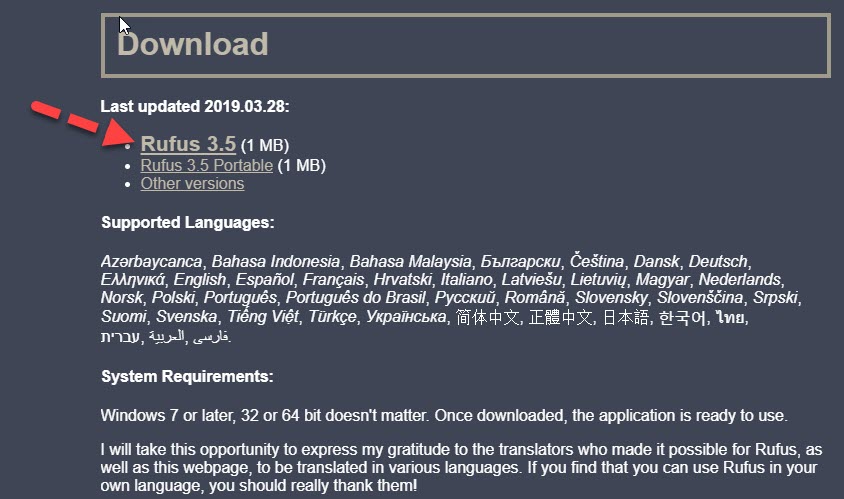
Step 1. Download Rufus Software
You need to download Rufus software to make USB bootable to install Ubuntu from USB. Download the Latest version of Rufus software by clicking here.
Step 2. Insert USB To Your PC.
Make sure your USB is enough size to hold your ISO. 8GB is recommended.
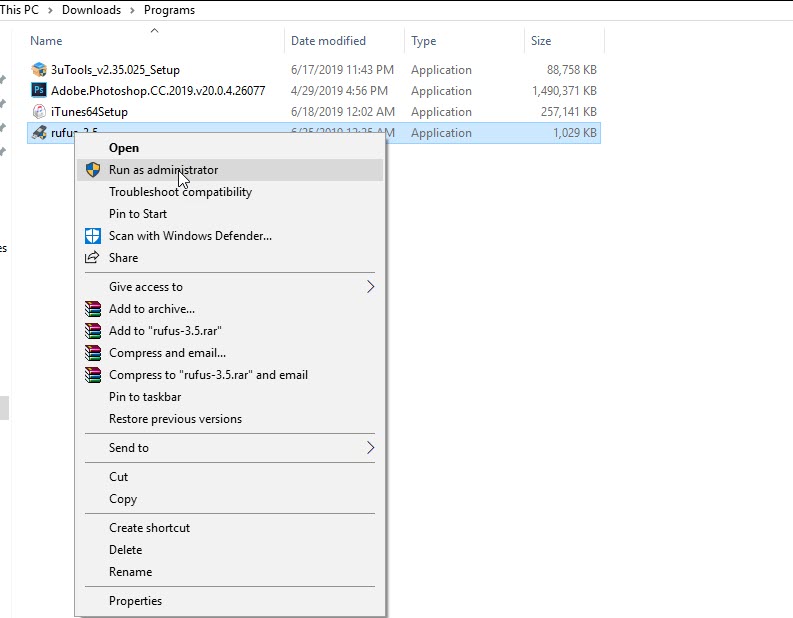
Step 3. Open Rufus Software and run it as administrator.
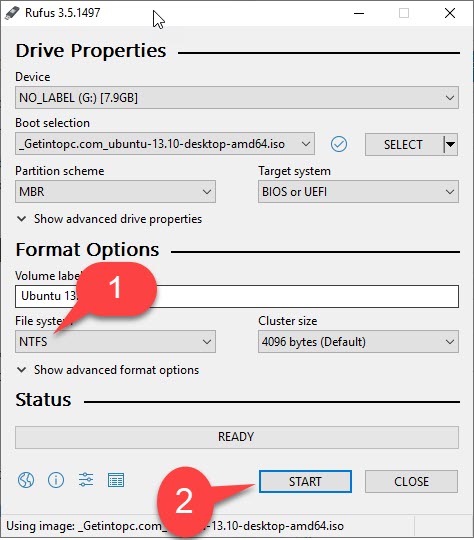
Step 4. Select the Ubuntu ISO image file. If you have not downloaded it, you can download it from here.
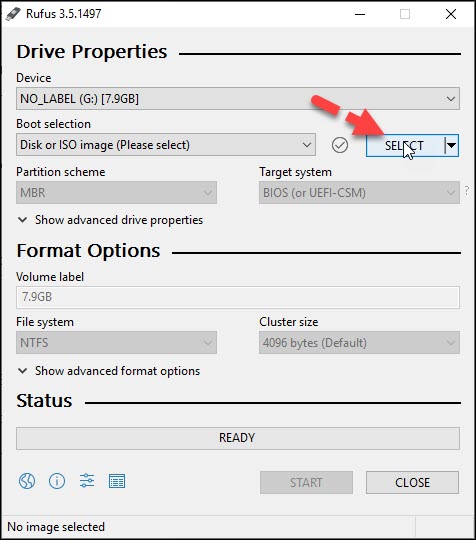
Step 5. Change the file system to NTFS and click Start button and click Ok.
The process will take from 5 to 10 minutes when it is ready, close it.
When your USB is ready, restart your PC and boot it from the USB drive. Make sure to choose boot sequence to prioritize USB first and enable USB from BIOS options.
For Hp Laptops and desktop the Boot key is F9 button and for Dell it’s different, you can search your Boot option key from the internet.
Boot your laptop or desktop with USB and start installing Ubuntu. If you face any error meanwhile installing, please comment it using the comment section below.